

How to fix a wall - mounted boiling water unit that is leaking?
Aug 31, 2026
Leave a message
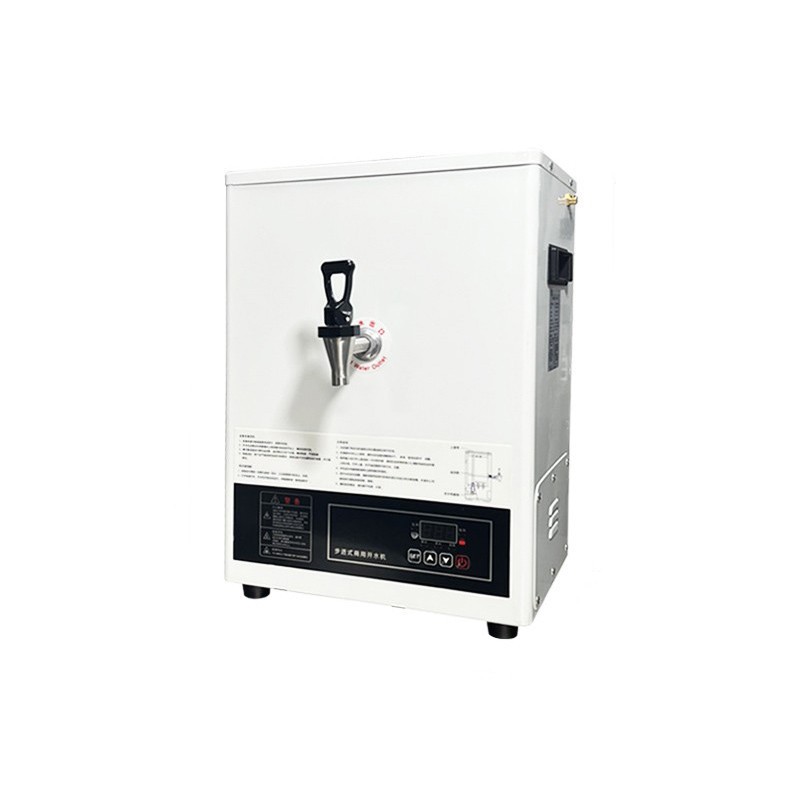
A wall-mounted boiling water unit is a convenient and efficient solution for providing hot water in various settings, such as offices, schools, and commercial kitchens. However, like any appliance, it may encounter issues over time, and one of the most common problems is leakage. As a supplier of Wall Mounted Boiling Water Unit, I understand the frustration that comes with a leaking unit. In this blog post, I will guide you through the steps to fix a wall-mounted boiling water unit that is leaking, ensuring that you can enjoy a reliable and leak-free hot water supply.
Step 1: Identify the Source of the Leak
The first step in fixing a leaking wall-mounted boiling water unit is to identify the source of the leak. Leaks can occur from various parts of the unit, including the water tank, pipes, valves, or connections. Here are some common areas to check:
- Water Tank: Inspect the water tank for any visible cracks or holes. A cracked tank can cause water to leak out. Look for signs of water pooling around the base of the unit or damp spots on the wall behind it.
- Pipes and Connections: Check all the pipes and connections for loose fittings, damaged seals, or leaks. Tighten any loose connections using a wrench or pliers. If you notice any damaged pipes or seals, they may need to be replaced.
- Valves: Examine the valves, such as the inlet valve and the outlet valve, for any signs of leakage. A faulty valve can cause water to leak out. If you suspect a valve is the source of the leak, you may need to replace it.
Step 2: Turn Off the Power and Water Supply
Before you start working on the wall-mounted boiling water unit, it is important to turn off the power and water supply to prevent any accidents or further damage. Locate the power switch or unplug the unit from the electrical outlet. Then, turn off the water supply valve to stop the flow of water into the unit.
Step 3: Drain the Water Tank
Once the power and water supply are turned off, you need to drain the water tank to reduce the pressure and make it easier to work on the unit. Locate the drain valve at the bottom of the water tank and open it to allow the water to drain out. Place a bucket or a container under the drain valve to collect the water.

Step 4: Repair or Replace the Damaged Parts
After draining the water tank, you can start repairing or replacing the damaged parts. Here are some common repairs and replacements you may need to make:
- Cracked Water Tank: If the water tank is cracked, you will need to replace it. Contact the manufacturer or a professional technician to obtain a replacement tank. Follow the manufacturer's instructions to install the new tank.
- Loose or Damaged Pipes and Connections: If the pipes or connections are loose or damaged, you can try tightening them or replacing the seals. Use a wrench or pliers to tighten the connections. If the seals are damaged, you can purchase replacement seals from a hardware store and install them according to the manufacturer's instructions.
- Faulty Valves: If a valve is faulty, you will need to replace it. Contact the manufacturer or a professional technician to obtain a replacement valve. Follow the manufacturer's instructions to install the new valve.
Step 5: Reassemble the Unit and Test for Leaks
Once you have repaired or replaced the damaged parts, you can reassemble the unit. Make sure all the connections are tight and secure. Then, turn on the water supply valve and fill the water tank. Check for any leaks by observing the unit for a few minutes. If you notice any leaks, repeat the steps above to identify and fix the source of the leak.
Step 6: Turn On the Power and Check the Operation
After testing for leaks and ensuring that the unit is leak-free, you can turn on the power and check the operation of the wall-mounted boiling water unit. Allow the unit to heat up the water and test the hot water dispenser. Make sure the water is flowing properly and that the temperature is correct.
Tips for Preventing Leaks
To prevent leaks from occurring in the future, here are some tips you can follow:
- Regular Maintenance: Perform regular maintenance on your wall-mounted boiling water unit, including cleaning the unit, checking the pipes and connections, and replacing any worn-out parts.
- Use High-Quality Parts: When replacing parts, make sure to use high-quality parts that are compatible with your unit. This will help ensure the longevity and reliability of the unit.
- Follow the Manufacturer's Instructions: Always follow the manufacturer's instructions for installation, operation, and maintenance of the wall-mounted boiling water unit. This will help prevent any damage or leaks from occurring.
Conclusion
Fixing a wall-mounted boiling water unit that is leaking can be a challenging task, but with the right tools and knowledge, you can do it yourself. By following the steps outlined in this blog post, you can identify the source of the leak, repair or replace the damaged parts, and ensure that your unit is leak-free and functioning properly. If you are unsure about any of the steps or if you encounter any difficulties, it is recommended to contact a professional technician for assistance.
As a supplier of Wall Mounted Boiling Water Unit, we offer a wide range of high-quality products, including Intelligent Stepping Heater Hot Water Boiler and Intelligent Water Boiler. If you are interested in purchasing a wall-mounted boiling water unit or need any assistance with your existing unit, please feel free to contact us. We are here to help you find the best solution for your hot water needs.
References
- Manufacturer's instructions for the wall-mounted boiling water unit
- Plumbing repair guides and resources
Send Inquiry